Get starter with Tics, the simple analytics
Step 1 : Register & Login
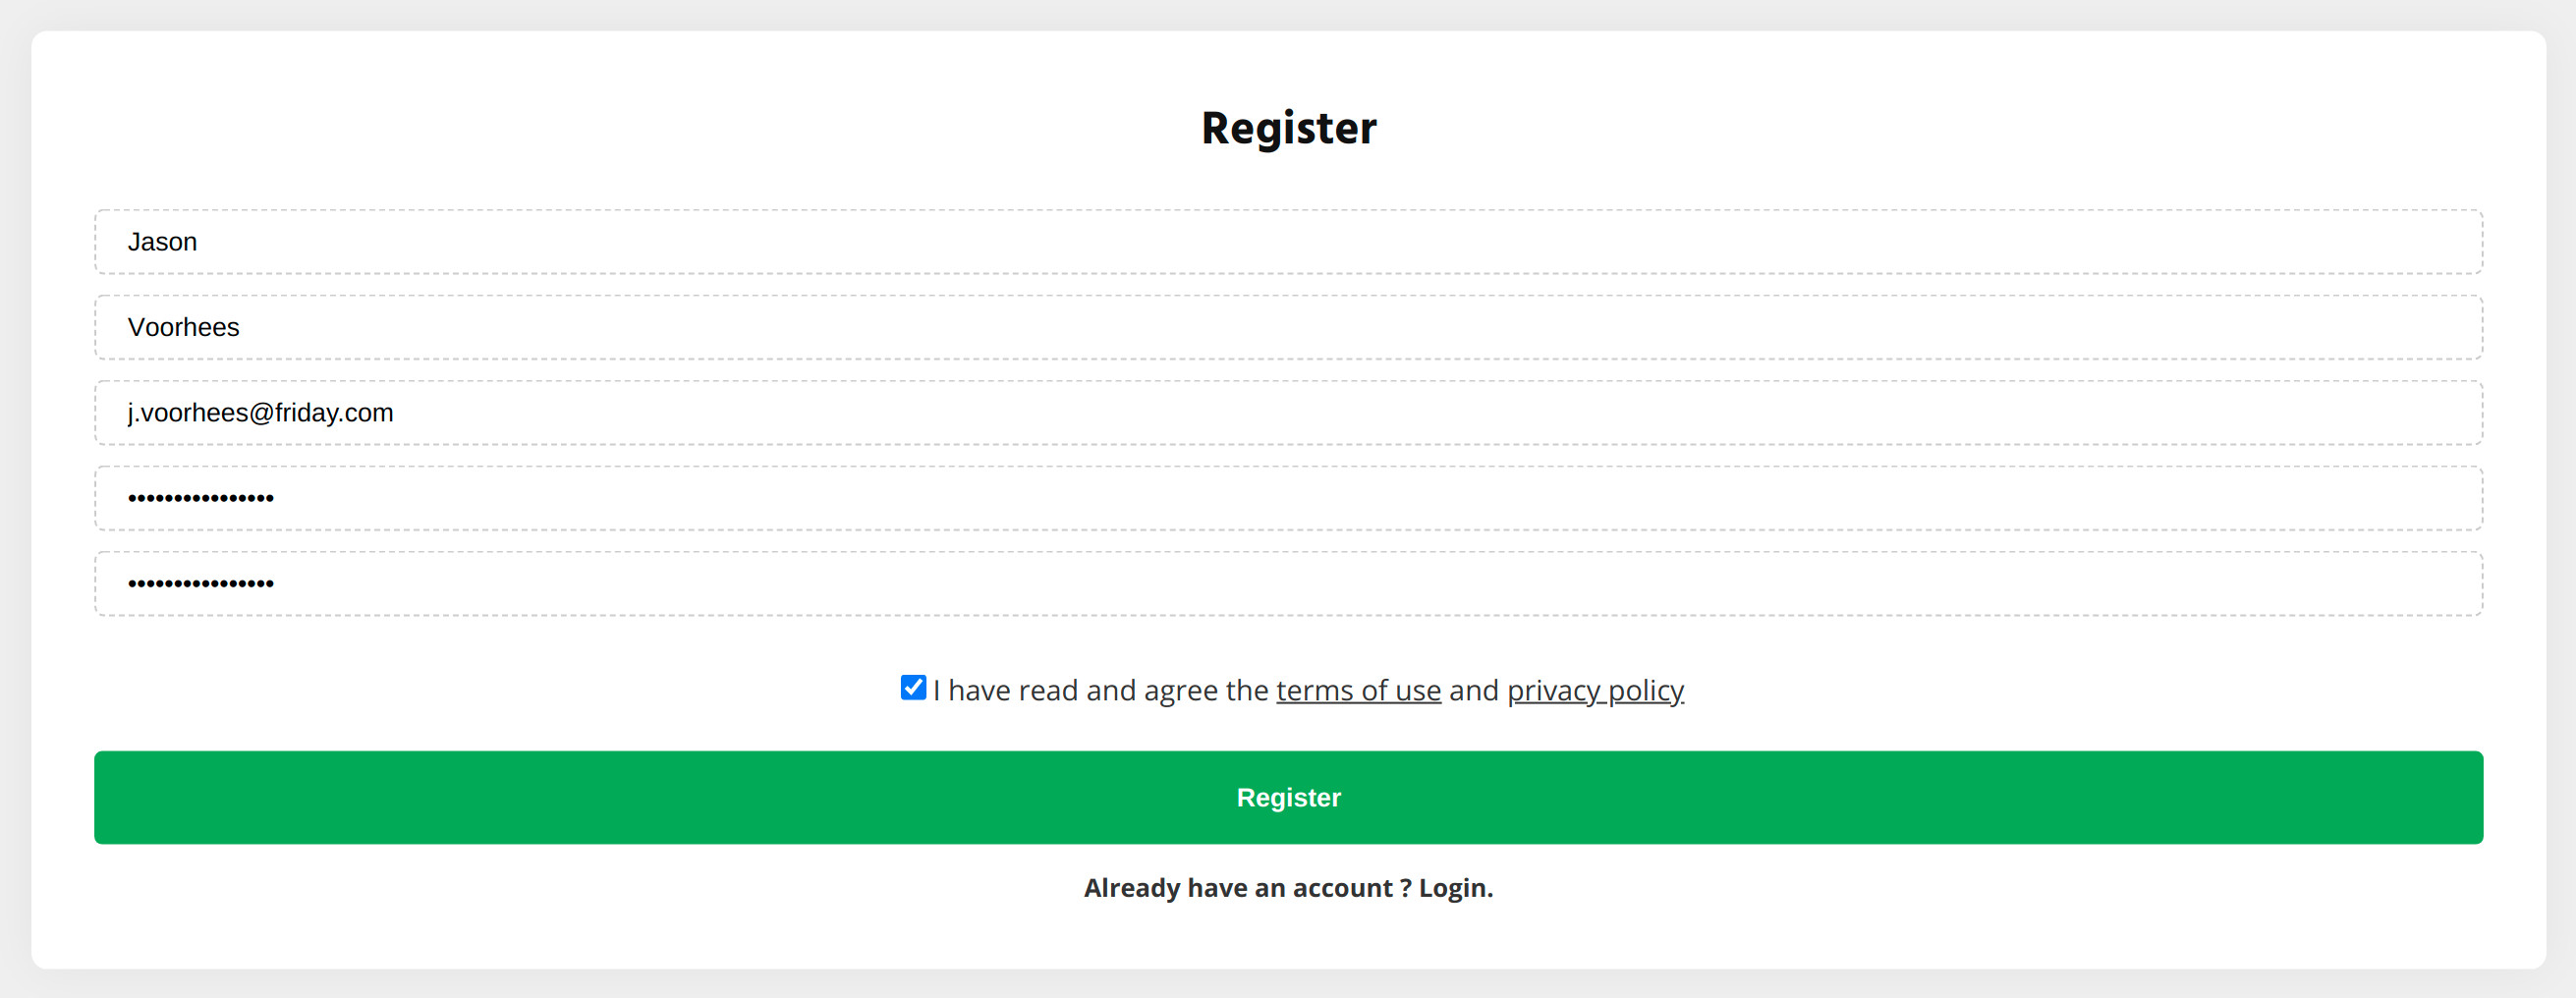
First thing you need to register on Tics.
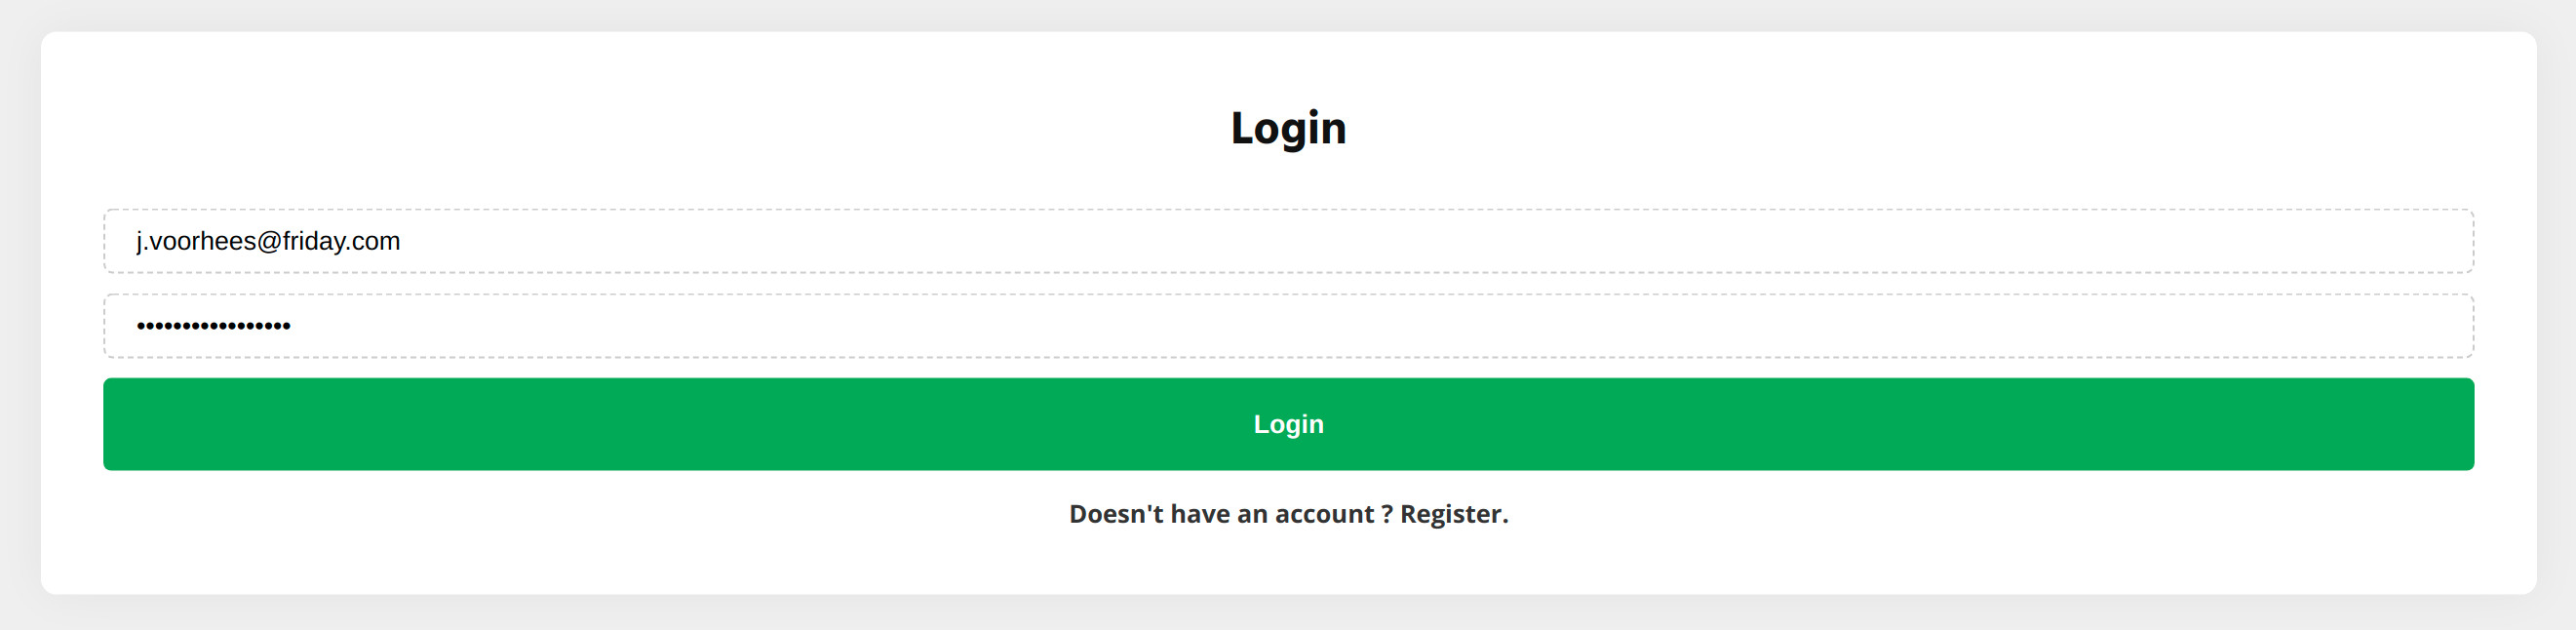
Once your account is created, simply login to Tics
Step 2 : Add a website
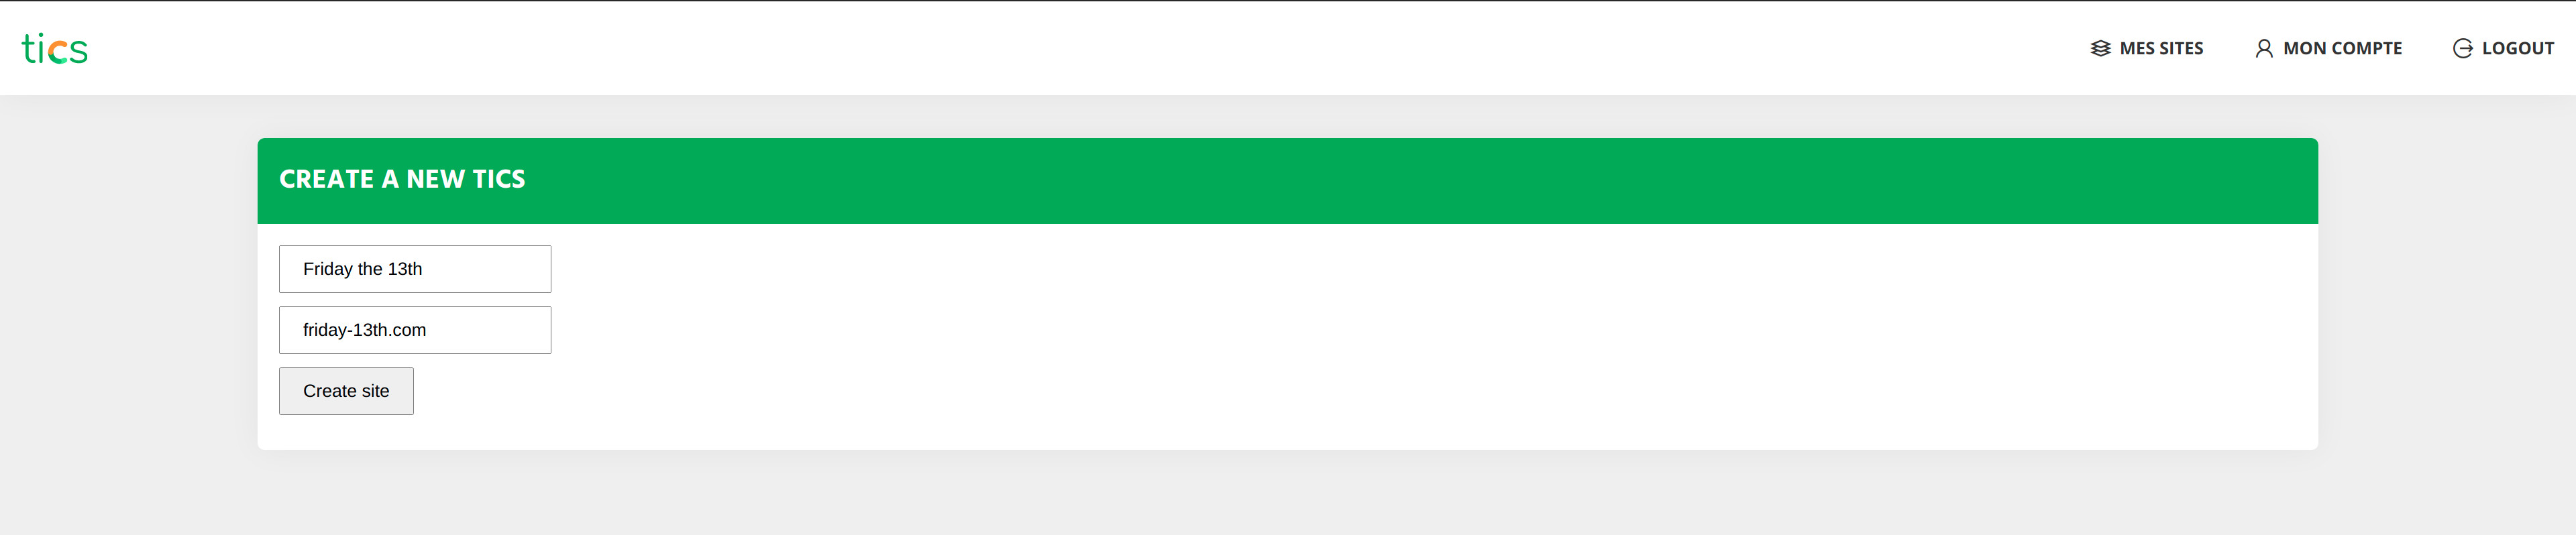
Once you are logged-in to Tics you need to add a website.
In order to do so :
- Click on "Create a new tics"
- Type in your website name
- Type in the website URL without http:// or https:// (https://get-tics.com becomes get-tics.com)
- Click "Create site"
Step 3 : Add Tics to your website
Using WordPress ? Go directly to Wordpress Setup Guide
Go to your Website dashboard by clicking on it's name or on the CAMEMBERT icon.
In the "Website Infos" section find Tics'code and copy it
Paste this code on your website.
Note : You should paste the code somewhere that is loaded on each page, for example the footer.
Et voilà ! You are good to go. Simply go to your website dashboard and check your data.
Step 3-bis : Add Tics to your WordPress website
Go to your Website dashboard by clicking on it's name or on the CAMEMBERT icon.
In the "Website Infos" select WordPress under "Technology"
Download Tics' WordPress plugin by clicking the link on the page or here
Copy the website's Tics ID
Login to your website's admin dashboard
Go to the "Plugins" menu and click "Add New" on top of the page
Click Upload Plugin and on the upload form select the previously downloaded ZIP and click "Install Now"
Click Activate Plugin then click on "Tics" on the admin menu
Paste your website's Tics ID and click Save Changes
Et voilà ! You are good to go. Simply go to your website dashboard and check your data.
tics is made with ❤ by techpaf
in the wonderful city of Boulogne Billancourt - France 🐔
©2021 - techpaf / tics